How to Update All Nuget Packages in a Solution
How to Update All Nuget Packages in a Solution
Have you ever found yourself in a situation where you need to update all Nuget packages in a Visual Studio solution?
This task can be daunting, especially when dealing with large projects that have numerous dependencies.
However, fear not, as we’ll guide you through the process step by step.
**Step 1**: Open Visual Studio and load the solution you want to update the Nuget packages for.
**Step 2**: Right-click on the solution in Solution Explorer and select “Manage NuGet Packages for Solution…”
**Step 3**: In the NuGet Package Manager, navigate to the “Updates” tab to see all available updates for your packages.
**Step 4**: Select the packages you want to update, or click on the “Update All” button to update all packages in the solution.
**Step 5**: Review the changes and click “OK” to begin the update process. Visual Studio will download and install the latest versions of the selected packages.
**Step 6**: Once the update process is complete, rebuild your solution to ensure that everything is working correctly with the new package versions.
Updating Nuget packages in a solution is an essential maintenance task to ensure that your project is using the latest versions of dependencies.
By following these steps, you can keep your project up to date and benefit from bug fixes, new features, and security updates provided by the package authors.
The next time you find yourself in need of updating Nuget packages in a solution, remember these steps and make the process a breeze!


-
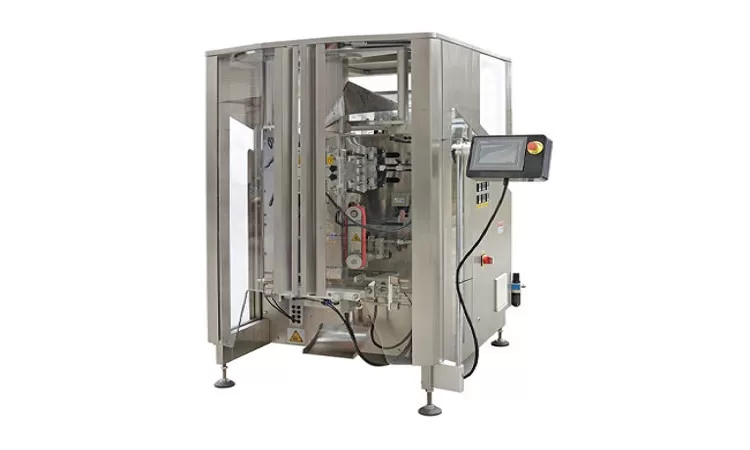
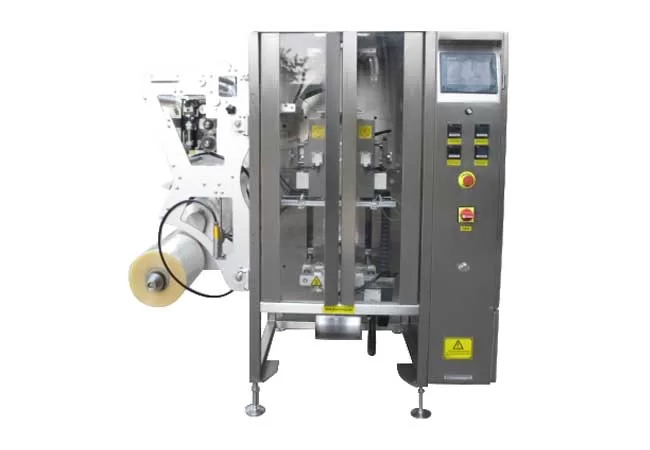
VFFS Equipment: The Ultimate Guide to Vertical Form Fill Seal Technology
13-03-2026 -

The Essential Guide to Weight Packing Machines for Precision Weighing
12-03-2026 -
Power Packing Machine: The Ultimate Guide to Heavy-Duty Packaging Efficiency
11-03-2026 -
Weigher Packing Machine: The Definitive Guide to Precision Weighing & Packaging
10-03-2026 -

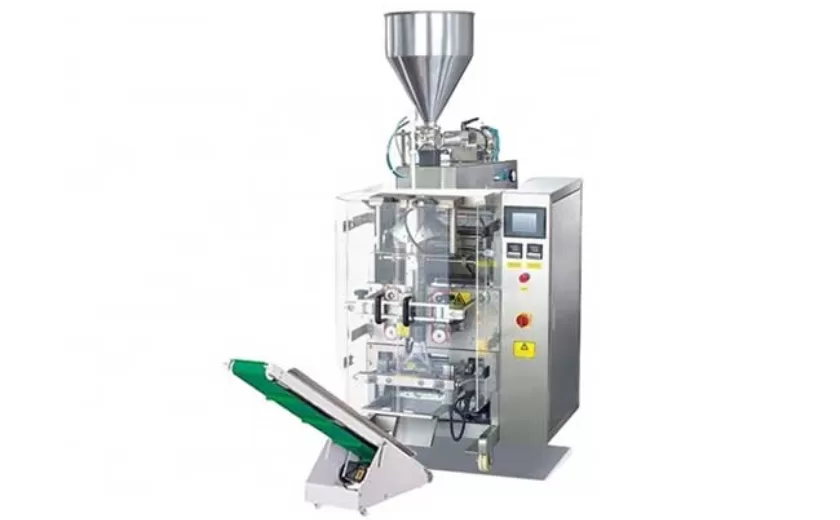
Auger Type Powder Filling Machine: The Ultimate Guide to Precision Packaging
09-03-2026 -
Advanced Packing Solutions: Snacks, Sugar, and Frozen Food Machines
29-10-2025 -
Efficient and Reliable Solutions for Salt, Nuts, and Frozen Dumplings Packing
29-10-2025 -
High-Performance Biscuits, Lollipop, and Ketchup Packing Machines for Modern Food Production
29-10-2025 -
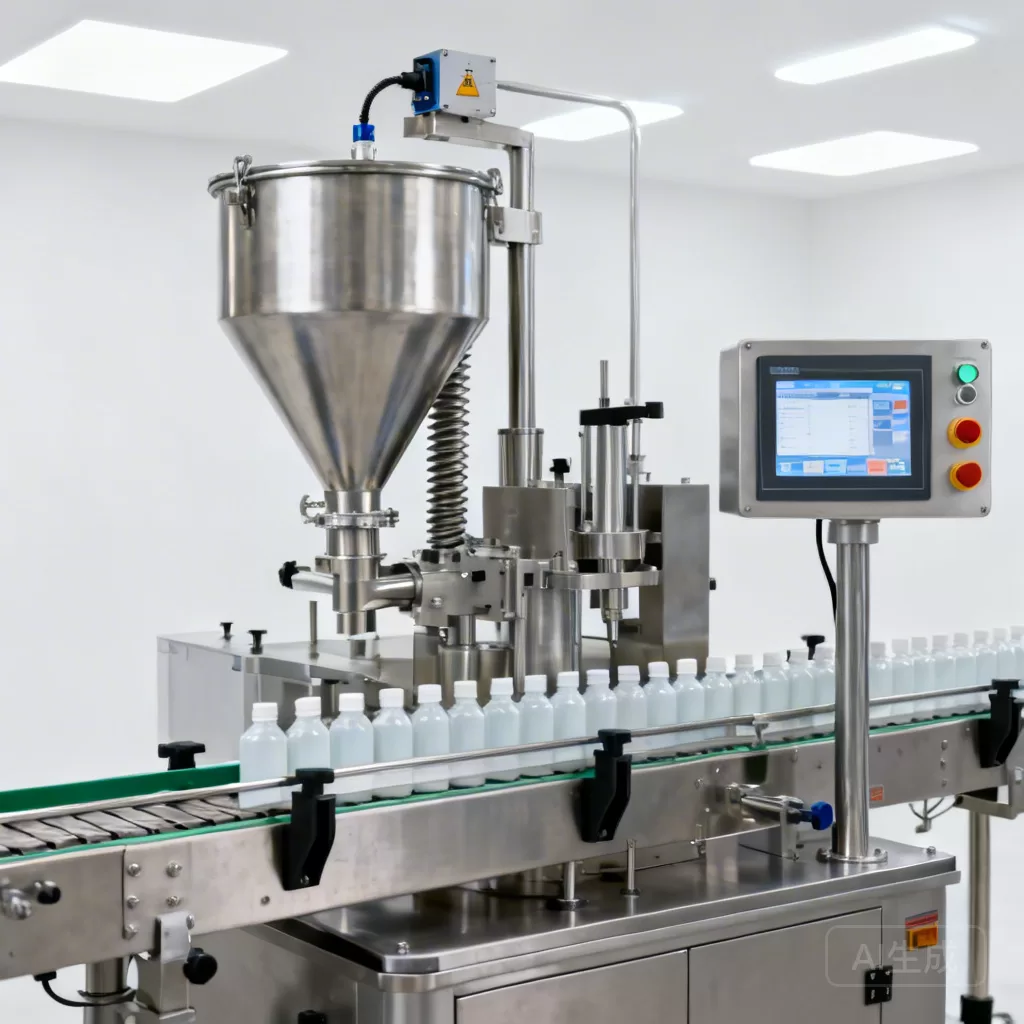
Efficient Liquid Filling and Packing Machines for Modern Production
23-10-2025 -

Reliable Granule Packaging Machines for Efficient Production
23-10-2025
