How to Add NuGet Package from Your Local Machine
Adding NuGet Package from Local Machine Simplified
In the world of .NET development, NuGet packages play a crucial role in sharing and managing libraries. While adding packages from official repositories like NuGet.org is simple, there are scenarios where you may need to add a NuGet package directly from your local machine. This blog post will guide you through the process step by step.
Prerequisites
Before we dive into the process, make sure you have the NuGet CLI installed on your machine. If not, you can download it from the official NuGet website.
Step 1: Pack Your Project
The first step is to pack your project into a NuGet package. Navigate to your project directory in the command line and run the following command:
nuget pack YourProject.csprojThis will create a NuGet package (.nupkg) file in the same directory.
Step 2: Add the Package Locally
Next, we will add the package from our local machine to a project. Run the following command in the target project directory:
nuget add YourLocalPackage.nupkg -Source C:YourLocalNugetPackagesReplace YourLocalPackage.nupkg with the name of your package file and C:YourLocalNugetPackages with the path to the directory containing your local NuGet packages.
Step 3: Reference the Package
Finally, reference the added package in your project. Open your project file and add the following line within the
Replace YourLocalPackage with the actual package name and version as needed.
Testing
Build your project and run it to ensure that the locally added NuGet package functions correctly within your application.
Wrap Up
Congratulations! You have successfully added a NuGet package from your local machine to your project. This approach can be handy during development when you need to test packages locally before publishing them. Remember to manage your local packages carefully and ensure they meet the required dependencies.


-
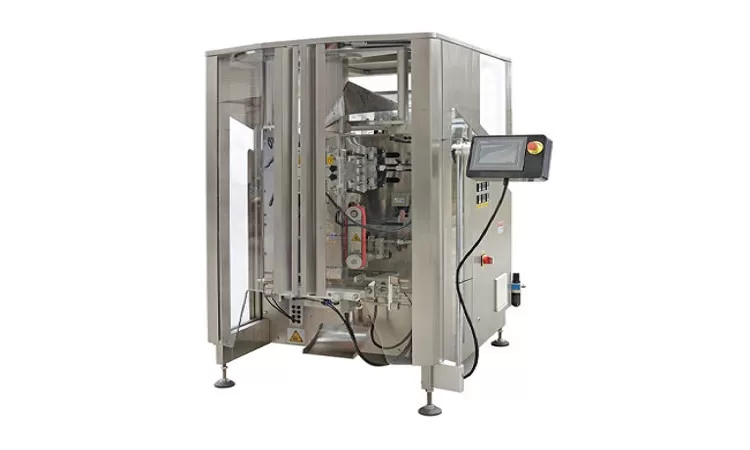
VFFS Equipment: The Ultimate Guide to Vertical Form Fill Seal Technology
13-03-2026 -

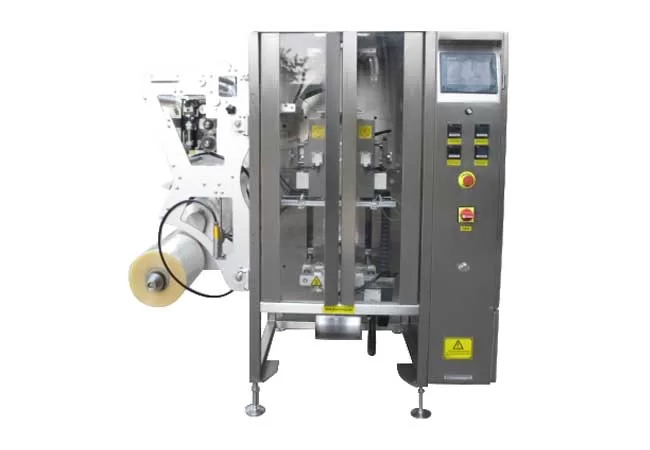
The Essential Guide to Weight Packing Machines for Precision Weighing
12-03-2026 -
Power Packing Machine: The Ultimate Guide to Heavy-Duty Packaging Efficiency
11-03-2026 -
Weigher Packing Machine: The Definitive Guide to Precision Weighing & Packaging
10-03-2026 -

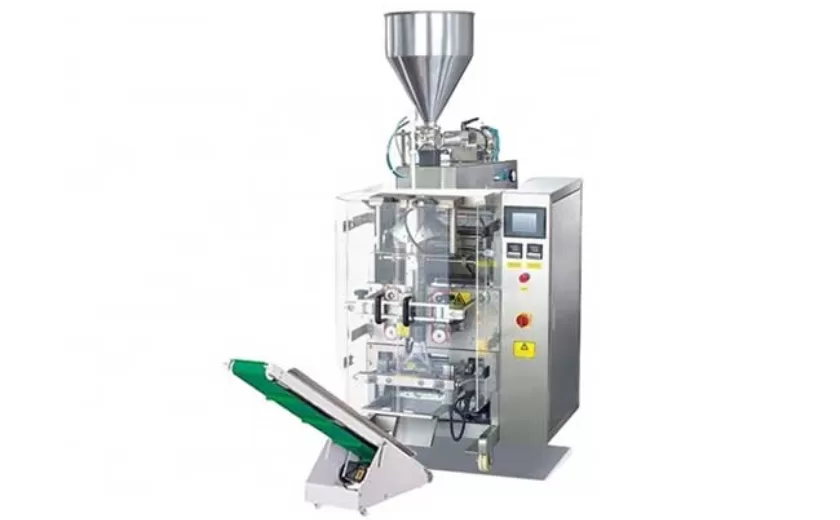
Auger Type Powder Filling Machine: The Ultimate Guide to Precision Packaging
09-03-2026 -
Advanced Packing Solutions: Snacks, Sugar, and Frozen Food Machines
29-10-2025 -
Efficient and Reliable Solutions for Salt, Nuts, and Frozen Dumplings Packing
29-10-2025 -
High-Performance Biscuits, Lollipop, and Ketchup Packing Machines for Modern Food Production
29-10-2025 -
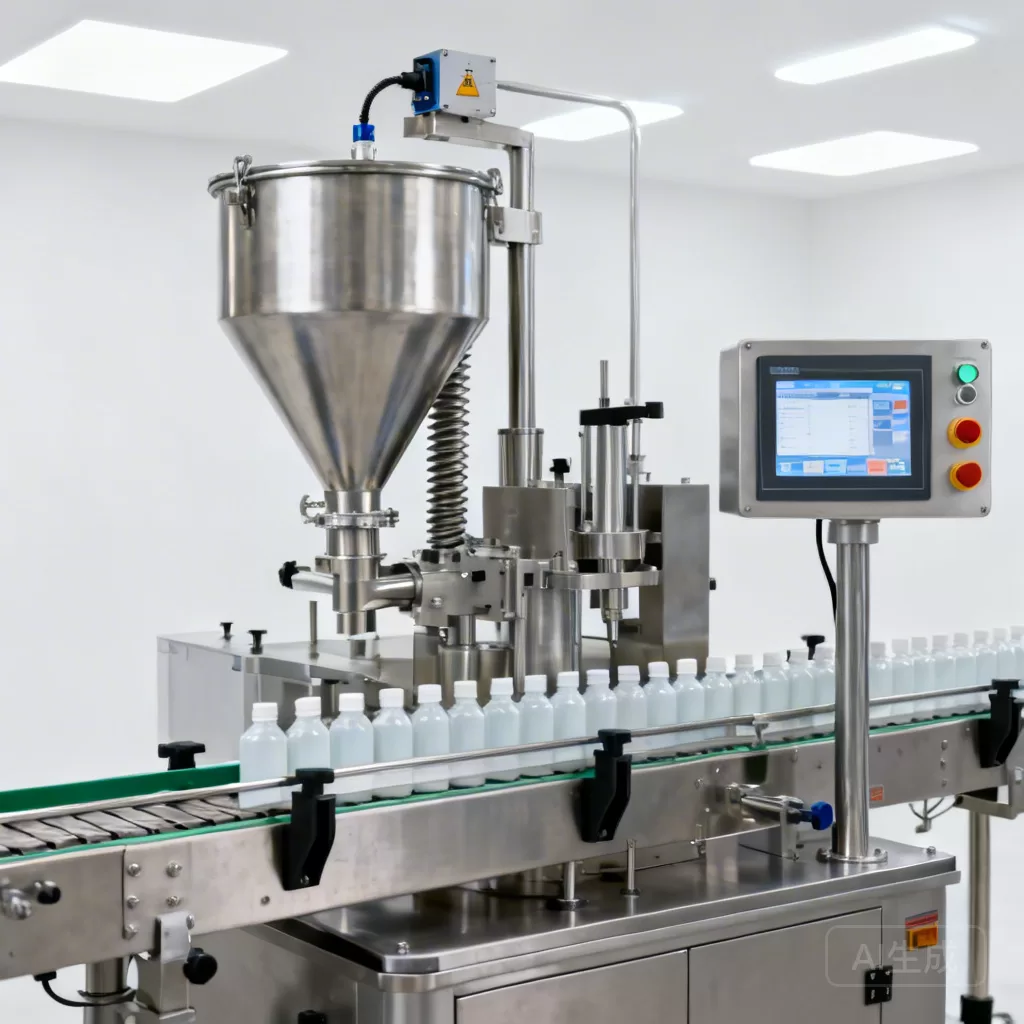
Efficient Liquid Filling and Packing Machines for Modern Production
23-10-2025 -

Reliable Granule Packaging Machines for Efficient Production
23-10-2025
