DIY Flower Wrapper from Bag – Blog Post
Transforming Ordinary Bags into Extraordinary Flower Wrappers
Are you tired of traditional flower wrappers? Why not try crafting your own unique flower wrapper from a simple paper bag? Not only is this a creative way to repurpose materials, but it also adds a personal touch to your floral arrangements. Let’s dive into the world of DIY flower wrapping and explore how you can turn an ordinary bag into a beautiful masterpiece.
Gather Your Materials
Before you begin crafting, gather the materials you’ll need. This includes a paper bag, scissors, decorative tape, ribbons, and any embellishments you want to add to your flower wrapper.
Step 1: Cut and Flatten the Bag
Start by cutting the paper bag along its seams so that you have a flat piece of paper to work with. Use the scissors to trim the edges and create a rectangular shape that can wrap around your bouquet.
Step 2: Add Decorative Elements
Get creative with your design! Use decorative tape, ribbons, or even paint to add flair to your flower wrapper. Consider incorporating patterns or textures that complement the flowers you’ll be wrapping.
Step 3: Personalize Your Wrapper
Make your flower wrapper truly special by adding personal touches. Write a heartfelt message, draw a design, or attach a small card with a handwritten note. This personalization will make your gift even more meaningful.
Step 4: Wrap Your Flowers
Once you’ve decorated the paper bag to your liking, carefully wrap your bouquet of flowers. Secure the wrapper with tape or a ribbon, ensuring that the flowers are snug but not crushed. Your DIY flower wrapper is now ready to be gifted!
With just a few simple steps, you can transform a humble paper bag into a stunning flower wrapper that will delight anyone who receives it. Get creative, experiment with different designs, and let your imagination run wild as you craft your own unique floral creations!
Happy crafting!


-
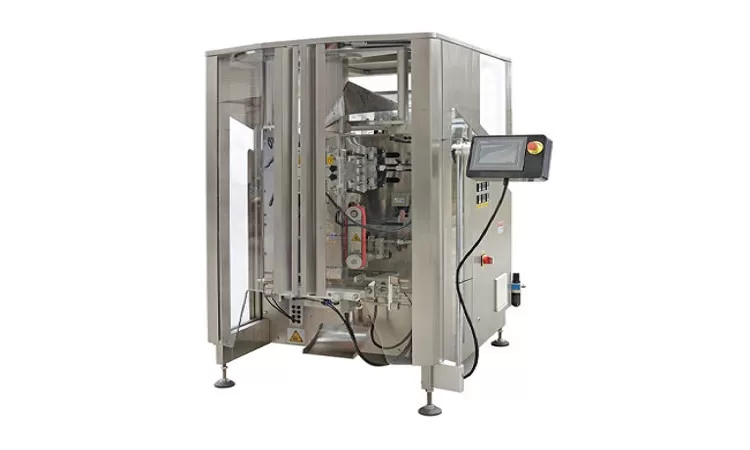
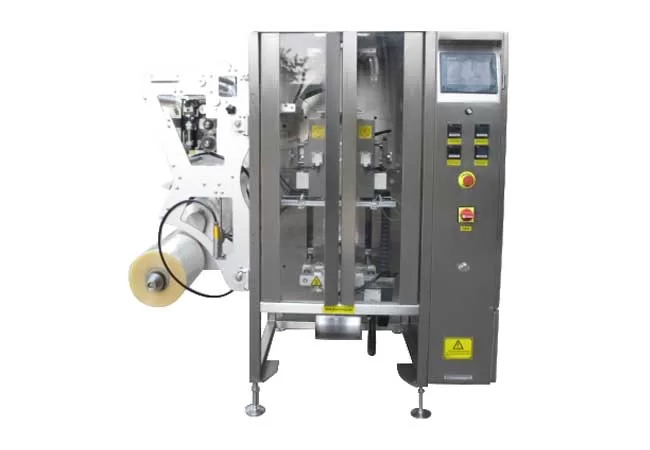
VFFS Equipment: The Ultimate Guide to Vertical Form Fill Seal Technology
13-03-2026 -

The Essential Guide to Weight Packing Machines for Precision Weighing
12-03-2026 -
Power Packing Machine: The Ultimate Guide to Heavy-Duty Packaging Efficiency
11-03-2026 -
Weigher Packing Machine: The Definitive Guide to Precision Weighing & Packaging
10-03-2026 -

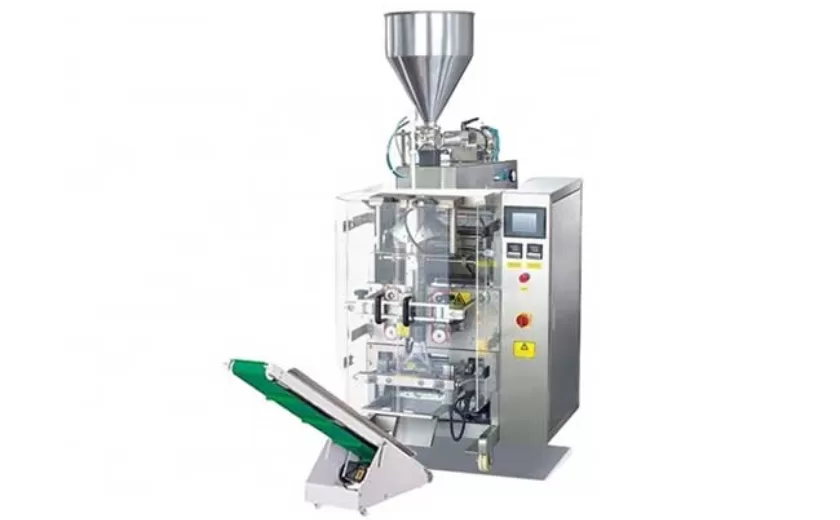
Auger Type Powder Filling Machine: The Ultimate Guide to Precision Packaging
09-03-2026 -
Advanced Packing Solutions: Snacks, Sugar, and Frozen Food Machines
29-10-2025 -
Efficient and Reliable Solutions for Salt, Nuts, and Frozen Dumplings Packing
29-10-2025 -
High-Performance Biscuits, Lollipop, and Ketchup Packing Machines for Modern Food Production
29-10-2025 -
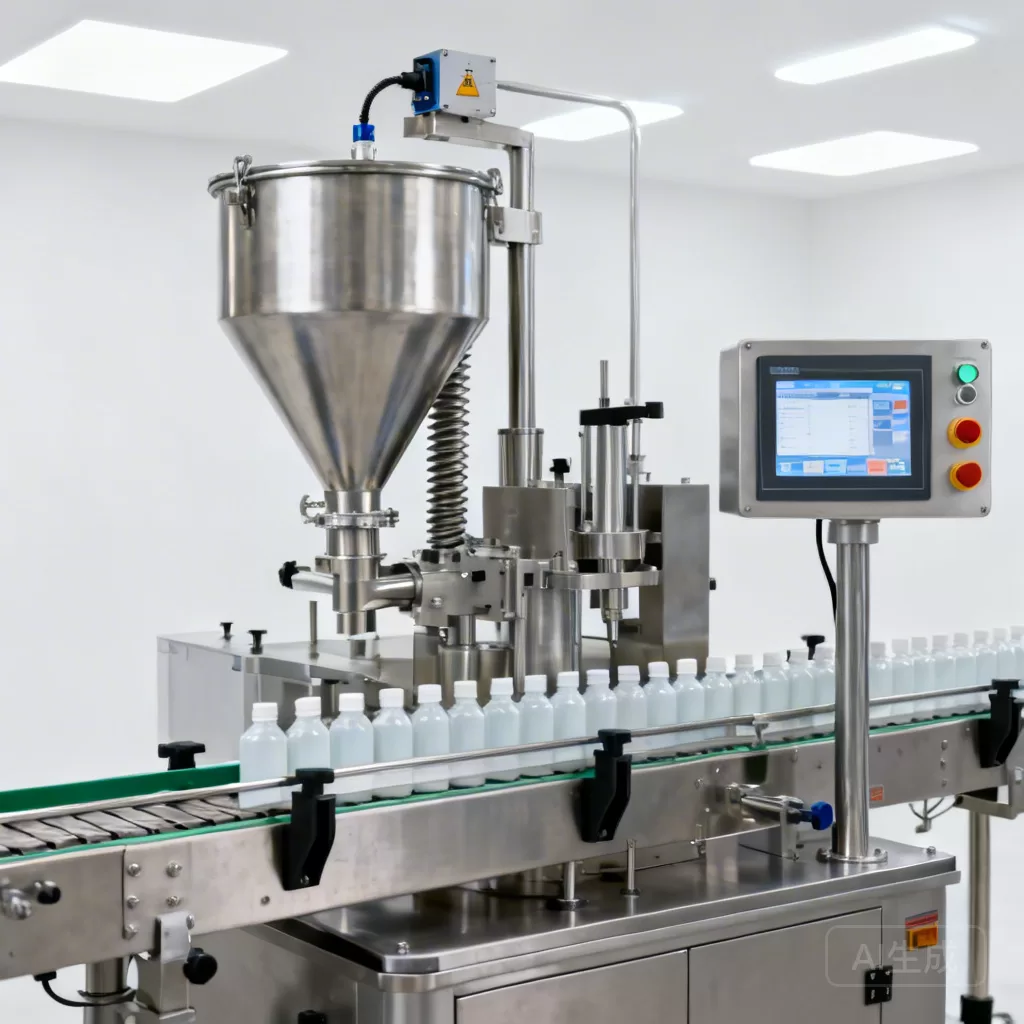
Efficient Liquid Filling and Packing Machines for Modern Production
23-10-2025 -

Reliable Granule Packaging Machines for Efficient Production
23-10-2025
